A closet that almost fits is worse than one that doesn't fit at all. If a shelf is an inch short, you get a gap that swallows earrings and hair ties. If it's an inch long, it doesn't go in, and now you're sanding in a hallway. Measuring takes about twenty minutes, and it's the one part of the project you can't fix later with a screwdriver.
What follows is the order that works: width, depth, height, reach, then obstacles. Do them in that sequence and you'll end up with a sketch you can hand to a salesperson or take to the saw without second-guessing yourself.
Pull everything out. You can't measure to the back wall with a winter coat in the way, and you can't measure depth at the floor with a shoe rack bolted to it.
You need a steel tape measure long enough to span the space (a 25-foot tape is plenty), a pencil, and paper you won't lose. A small level or a level app helps you check whether the floor slopes — more common than you'd think in older houses — and a soft fabric tape is useful for going around corners or measuring the trim on a door frame.
Skip the laser measure here. In a narrow closet the beam bounces off the back wall or catches an angle, and you get a number that looks precise and isn't. Save it for open walls.
Walls are rarely parallel. Measure the width at the floor, at about waist height, and at the height where your top shelf will sit. For wide closets, check both ends and the middle as well.
Then use the smallest number you recorded. That's the number that matters, because it's the one the shelf has to pass through.
If the difference between your widest and narrowest measurement is more than about half an inch, the walls are noticeably out of square and the fix is in the ends of the shelf, not the middle. Plan on filler strips, adjustable end panels, or cutting shelves slightly long and scribing the end to follow the wall. A perfectly straight wall is the exception in real houses, not the rule.
It depends on how the shelf goes in. A freestanding unit that slides into place needs at least half an inch of total clearance, or you'll be fighting the baseboard and the door trim at the same time. A shelf cut to span wall to wall should be cut long and trimmed to fit, since it can't move once it's in.
Measure depth from the back wall to the front face of the closet opening — not to the door, and not to the front edge of the trim. Those are different planes, and mixing them up is the most common measuring mistake.
Standard depths are worth knowing before you commit:
Deep shelves are a trap. Anything at eye level or above with 20-plus inches of depth becomes a place where items disappear toward the back and get forgotten. Keep shelves above shoulder height to about 12 inches deep, and use the extra depth lower down for bins, shoes, or drawers that pull out. Measure depth at floor level and again at shelf height, too, because baseboard and any wall projection change the usable space.
Measure floor to ceiling at both ends and in the middle. Ceilings sag, soffits hang down, and a closet with a header above the door is really two different heights, not one.
Note the height of the door opening as well. If you're assembling a unit in the bedroom and pushing it in, the unit has to fit through that opening, not just inside the closet.
When you want shelving all the way up, leave about half an inch of clearance at the ceiling rather than cutting flush. Make the top shelf adjustable so a dip in the drywall doesn't turn into a gap you stare at every morning.
Stand in the closet and reach straight up. Mark the wall where your fingertips land. That's the ceiling of your useful shelving zone, and it's usually lower than people expect — often around 72 inches for an average adult.
Depth works the same way. You can reach roughly arm's length into open air, but once a shelf is at eye level, anything past about 12 inches is a stretch you'll stop making. Plan the closet in zones:
Walk the closet one more time with the pencil and mark anything that interrupts a flat wall:
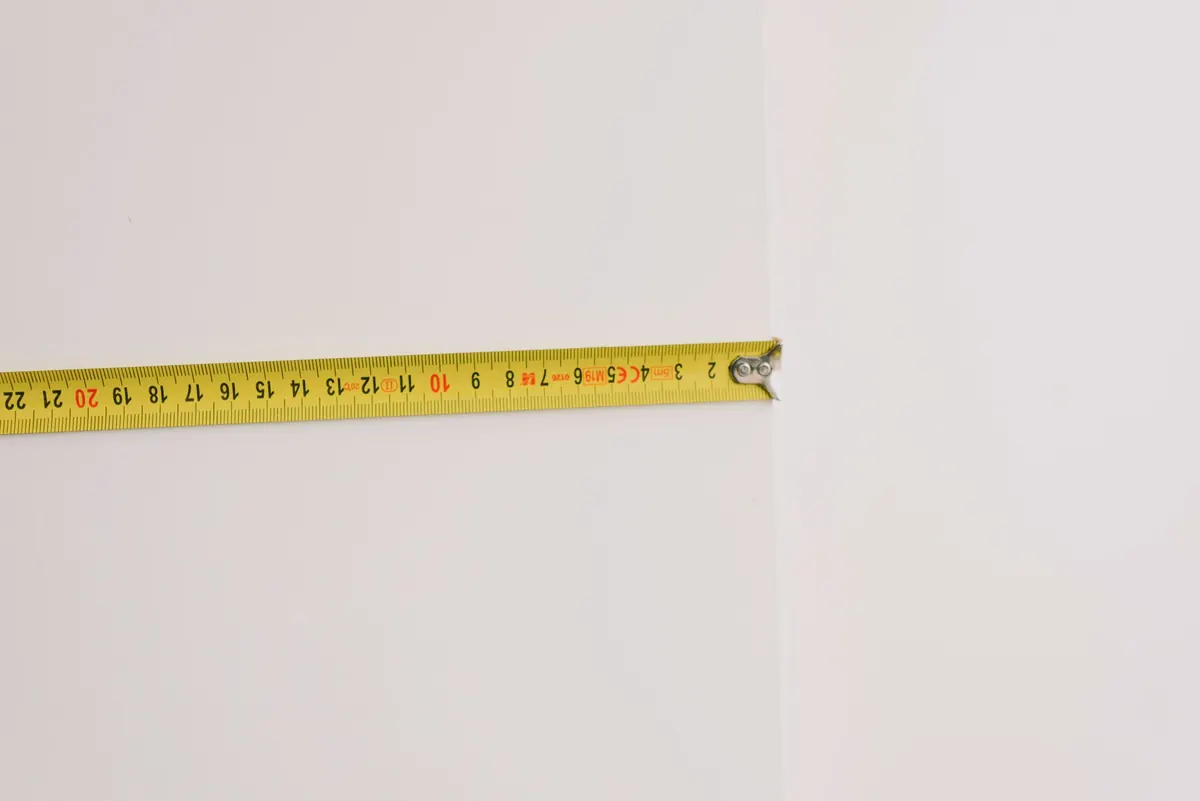
Now draw one simple elevation — the wall as you see it standing in the doorway — and write your numbers on it. Record each measurement as width by height, keep one unit throughout, and snap a photo of the wall with the tape measure in frame for reference. Then run the numbers one final time against this list:
Read your sketch once as if someone else wrote it. If a number doesn't have a label, label it. If two measurements disagree, go back with the tape and settle it before you spend anything.
If you're buying a custom system, most companies will send someone out to measure — let them, but keep your own numbers so you can sanity-check the drawing they hand back. If you're building, measure the same spots twice on different days. Wood moves, and so do houses. Twenty minutes now saves a Saturday of re-cutting later.
Photo: Ksenia Chernaya / Pexels